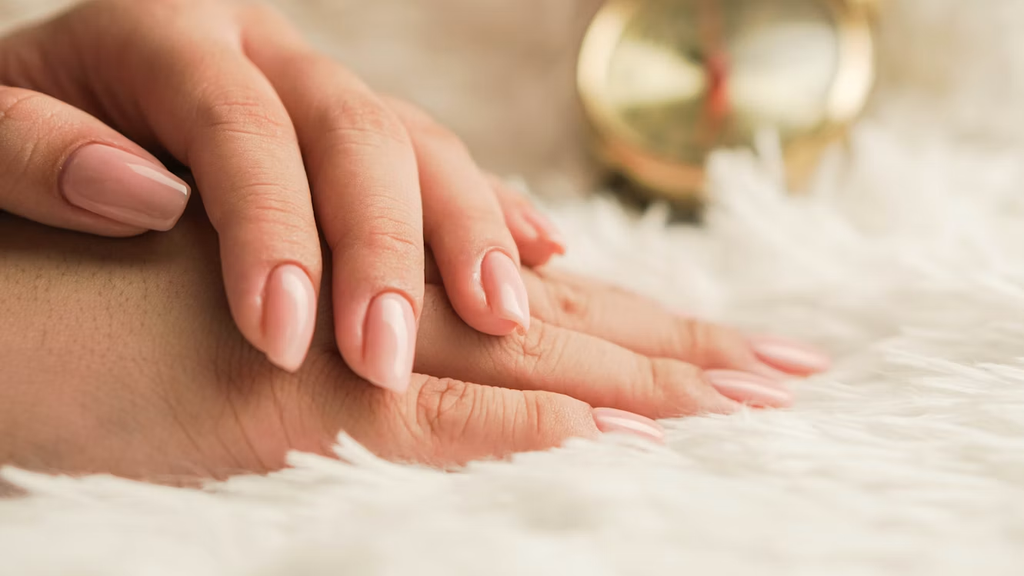
Finding 2 hours to visit a salon feels nearly impossible when managing kids, work, and household budgets. A professional manicure costs upwards of $50 plus tip every few weeks, adding unnecessary strain to family finances.
Learning to perform salon-quality nail treatments at home provides a relaxing self-care routine that saves hundreds of dollars annually. With the right tools and simple preparation, busy parents can achieve durable, elegant nails in under 30 minutes without stepping outside.
Table of contents
- Restoring strength to damaged nails
- Preparing the canvas for maximum longevity
- Investing in precision shaping tools
- Protecting natural nails with base coats
- Mastering simple minimalist nail trends
- Extending wear with semi-permanent polish
- Maintaining hydration and skin health
- Removing polish without surface damage
Restoring strength to damaged nails
Frequent handwashing, domestic chores, and harsh cleaning products take a heavy toll on natural nail beds. Applying a targeted nail care solution fortified with keratin strengthens brittle plates and seals cracks against future breakage. This clear protective layer shields weak surface layers so length can grow naturally without splitting. Consistent application twice a week turns thin, peeling tips into resilient foundations ready for color.
Weakened nails require extra care before applying any decorative color or gel coatings. Stripping away harsh removers and allowing natural keratin treatments to absorb creates a strong surface. Regular conditioning prevents painful side splits during busy workdays.
Preparing the canvas for maximum longevity
Thorough preparation forms the foundation of any long-lasting manicure at home. According to beauty experts at The Zoe Report, pre-manicure prep steps work wonders for delaying chips and creating a smooth canvas that grips onto polish. Removing residual surface oils allows base layers to bond directly to the nail plate without early lifting. Clean prep prevents moisture trapping beneath layers, which often causes premature peeling.
- Wipe each nail plate with isopropyl alcohol to remove natural oils.
- Gently push back cuticles using a soft wooden stick.
- Lightly buff uneven ridges with a high-grit buffer block.
- Trim excess hangnails carefully using sharp cuticle nippers.
Taking 5 extra minutes during prep saves days of premature chipping. Clean nail beds help every layer adhere cleanly for full coverage durability.
Investing in precision shaping tools
Achieving clean salon lines requires switching out dull emery boards for proper filing equipment. Insights from Joybuy Beauty note that an electric nail file serves as a precision tool designed for exact shaping and cuticle care. Low speed settings allow beginner home manicurists to smooth rough sidewalls without thinning natural nail layers. Proper speed control keeps nail beds cool and comfortable.
Traditional manual files still play a role when smoothing free edges into classic oval or square shapes. Always file in 1 direction rather than sawing back and forth to prevent microscopic tears. Smooth edges keep nails from catching on fabrics or hair during daily tasks.
Protecting natural nails with base coats
Skipping the base coat remains a primary reason home manicures yellow or peel within days. Coverage in Be Dashing Beauty stresses that starting with a strengthening base coat protects nails from staining and helps polish adhere firmly. The base layer acts like double-sided tape between natural keratin and color pigments. Deep red or navy shades can stain naked nails permanently without this protective barrier.
Further coverage from Global Fashion highlights that base coats keep nails healthy, extend polish longevity, and moisturize the nail plate. Skipping this barrier risks deep color staining that requires aggressive buffing to correct. Investing 2 minutes in a quality base layer doubles the life of your color.
Mastering simple minimalist nail trends
Busy mothers rarely have time for intricate freehand nail design between morning routines and bedtimes. Coverage from Elle Magazine explains that the popular milk nail trend uses semi-sheer white or pale nude polish to paint a subtle wash of color mimicking a soft milky appearance. Minimalist styles hide small growth gaps and minor chips far better than dark shades. Neutral tones match professional workplace wardrobes seamlessly.
Applying 2 thin coats of semi-opaque polish creates a clean, professional look that matches any outfit. Sheer formulas dry rapidly and require less precision around cuticle lines. Minimalist shades offer maximum elegance with minimal maintenance.
Extending wear with semi-permanent polish
For long-lasting power that survives dishes, laundry, and daily parenting duties, semi-permanent options offer great resilience. The Joybuy DIY Guide indicates that a DIY semi-permanent manicure typically lasts between 1 and 3 weeks when properly cured. LED curing lamps set color in seconds, eliminating long drying periods where smudges happen. Quick cure times mean getting back to daily duties immediately.
- Apply thin layers of gel polish to prevent bubbling under UV light.
- Cap the free edge of each nail with polish before curing.
- Wipe away sticky residue using alcohol wipes after the final cure.
Proper curing techniques transform home polish into durable armor against daily wear. Gel formulas maintain a high-shine finish through weeks of routine activity.
Maintaining hydration and skin health
Flawless polish looks incomplete if surrounding skin appears dry, cracked, or neglected. Beauty coverage from Harper’s Bazaar notes that exfoliation paired with rich hand cream maintains hydration and protects the skin barrier. Soft hands frame polished nails, giving a polished appearance even between manicures. Daily hydration prevents painful hangnails from forming near sensitive cuticle edges.
Massaging cuticle oil into nail beds every evening encourages healthy blood flow and flexible growth. Flexible nails bend under pressure instead of snapping during physical tasks. A quick bedtime oil application preserves polish flexibility for extended wear.
Removing polish without surface damage
Peeling or picking off lifting polish represents the fastest way to ruin natural nail thickness. Dermatological tips from Cosmopolitan warn that when polish lifts around edges, peeling it off takes the top layer of your nail with it. Stripping natural keratin layers leaves nails paper-thin and sensitive. Gentle soaking methods keep natural structures intact for future color applications.
Soak cotton pads in acetone remover, wrap nails in small foil squares, and wait 10 minutes for polish to dissolve naturally. Gently slide softened polish off using an orange wood stick without scraping. Safe removal protects underlying strength for your next home manicure session.
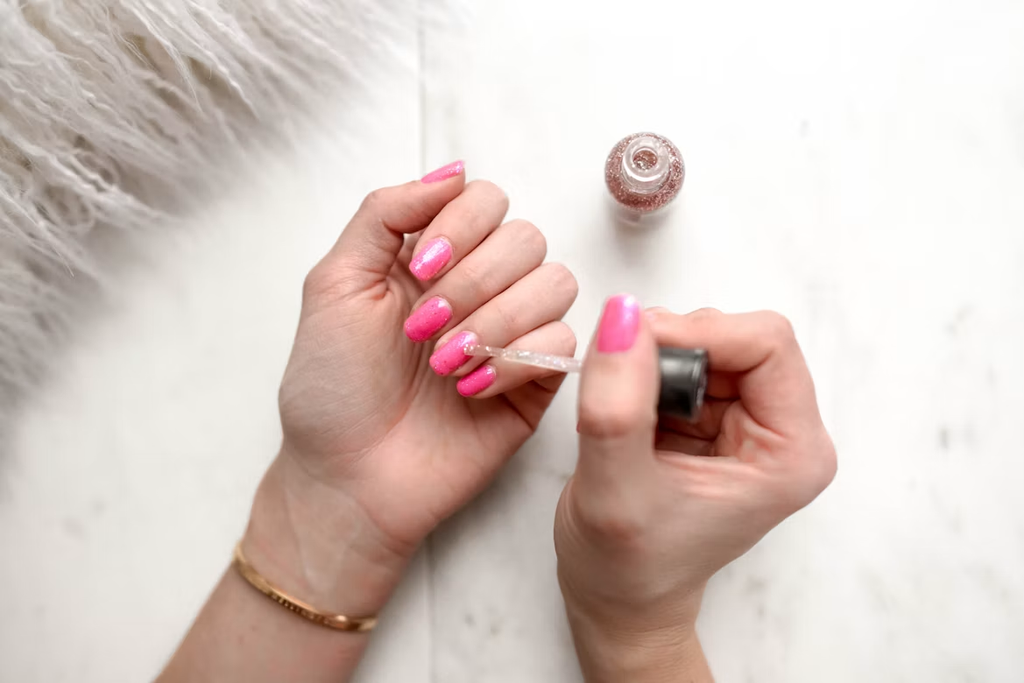
Creating salon-quality nails at home fits easily into busy schedules without straining household finances. Committing 30 minutes a week to care routines builds confidence and provides dedicated quiet time for self-care. With proper preparation, quality base treatments, and gentle removal, home manicures deliver durable beauty that withstands daily life. Enjoy strong, healthy nails on your own terms and save money every single month.