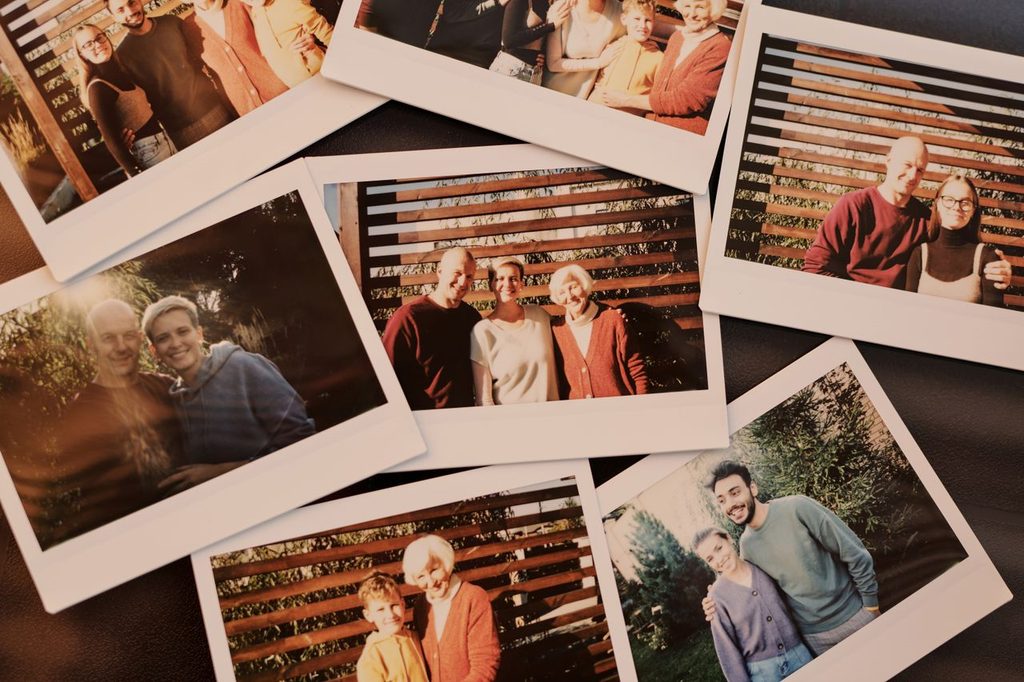
Most families have thousands of photos and almost none on a wall. They sit in a camera roll, backed up and rarely seen.
Good display mixes design with technical planning. Resolution, spacing, lighting, and storage all affect the result. This guide covers each step so your favorite moments look sharp and last.
Table of contents
Plan before you hang anything
Start with a short list. Pick 15 to 20 photos that matter most. Choose images with sharp focus and even lighting. Favor real moments over stiff poses. Blurry shots look worse once enlarged. Also check file size. A print at 300 DPI needs enough pixels for its dimensions. An 8×10 print needs about 2400 by 3000 pixels. Most current phone photos meet that.
Next, sort your picks by one clear method. A system keeps the final layout cohesive and stops random clutter:
- Theme, such as holidays or first days of school
- Color, such as black and white only
- Timeline, from oldest to newest
- Person, with one wall for each child
Put photos on everyday items
Functional pieces keep memories in daily view. The easiest example is a custom photo calendar. Twelve months give you twelve photos. Each one stays visible for about thirty days. Pick one image per month that matches the season. Hang it near the kitchen or home office, where you check dates often.
Mugs, throw pillows, and phone cases also work. Use high contrast photos with simple backgrounds. Busy images lose detail on curved or textured surfaces. Keep faces away from seams and edges. Check the provider’s resolution guide before you order.
Build a gallery wall that looks planned
Gallery walls fail when spacing is random. Keep gaps between frames at 2 to 3 inches. Center the full arrangement at about 57 inches from the floor. That matches average eye level and a common museum standard. Above a sofa, leave 6 to 8 inches between the furniture and the lowest frame.
Cut paper templates for each frame. Tape them to the wall first. Use a level and painter’s tape to mark the grid. Move the templates until the layout feels balanced. Then drive the nails. This saves you from patching extra holes. Mix frame sizes but keep frame colors consistent. A 2 to 3 inch white mat also helps mixed photos look unified.
Use shelves, ledges, and shadow boxes
Picture ledges let you swap photos without new holes. Lean frames at different depths. Put the tallest frame in back and the smallest in front. Add a small plant or a stack of books to break up repeating lines.
Shadow boxes hold three dimensional keepsakes. Think ticket stubs, baby bracelets, or a child’s first drawing. Choose boxes at least 1.5 inches deep. Mount items with archival pins or photo safe adhesive. Avoid hot glue, which can stain and warp paper.
Add light and personality
Lighting changes how photos read. Use warm LED bulbs between 2700K and 3000K. Aim picture lights at about a 30 degree angle to cut glare on glass. Keep prints out of direct sun.
Light can also be the display. A lit sign gives a family room or kids’ space a clear focal point. Place it beside a photo wall so the two features support each other.
Many parents choose neon name signs for this. Modern LED neon uses flexible silicone tubing, so it runs cool and works well in kids’ rooms. Mount the sign near the photos, not over them. Keep it away from glass frames to avoid reflections.
Make displays more personal with DIY touches
Personal details make a photo display feel more meaningful. Add handwritten captions with names, dates, or short notes explaining the moment behind each picture. Small wooden labels or simple printed cards work well beside framed photos.
You can also use string lights, decorative clips, or colored backing paper to create a relaxed display in bedrooms and family spaces. Let children help choose pictures or decorate their own frames. Their involvement makes the project more memorable and gives everyone a sense of ownership. Keep decorations simple so they complement the photographs rather than compete with them.
Protect what you display
Display is only half the job. Light, heat, and humidity damage prints over time. The Library of Congress recommends 30 to 50 percent relative humidity and temperatures at or below 70°F for photographs. Their care, handling, and storage of photographs guide is worth reading before you frame anything.
Apply these rules at home:
- Avoid walls near vents, radiators, and exterior walls
- Use UV filtering glass or acrylic
- Choose acid free mats and backing boards
- Skip tape and sticky album pages
- Display copies and store originals in photo safe boxes
Start with one wall
Pick one space this weekend. Print five photos, frame them, and hang them. Add more as you go. A good display grows in small steps, and every added frame tells more of the story.