Your house isn’t falling apart. The furnace runs fine, the roof doesn’t leak, and nothing structural needs attention. It just looks older than it should, starting with the almond-colored switch plates that have been on the walls since the house was built and the caulk that’s gone gray around the tub.
None of that requires a contractor’s rate. Most of it is a Saturday, a trip to the hardware store, and less than $50.
Here are 15 fixes that actually change how a house reads, priced with real 2026 numbers so you know what you’re signing up for before you start.
Table of contents
- Swap out yellowed switch plates and outlet covers
- Update the cabinet hardware in your kitchen or bathroom
- Re-caulk the tub or shower
- Add a peel-and-stick tile backsplash
- Paint the front door
- Install a WaterSense showerhead
- Swap the toilet seat and flush handle
- Install a smart thermostat
- Power wash the siding, walkway, and driveway
- Paint an accent wall
- Replace an old ceiling fan
- Swap out the window blinds
- Update the exterior door hardware and deadbolt
- Add a new porch light
- Patch nail holes and repaint the trim white
Swap out yellowed switch plates and outlet covers
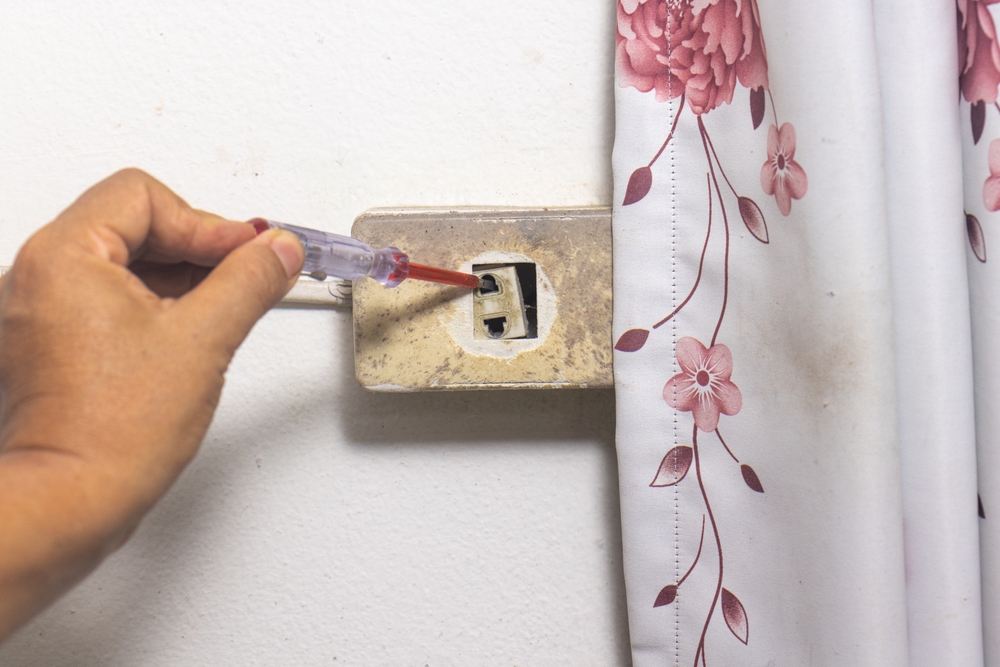
A single switch plate costs about a dollar at any hardware store, and most houses built before 2005 still have the same almond or ivory plastic covers from move-in day. Swapping every plate and outlet cover in a house takes an afternoon and a Phillips head screwdriver. You’re not touching wiring, just the plastic frame in front of it, so there’s no electrician needed and no real risk if you go slow and shut off the breaker for anything that looks even slightly loose.
Go with flat white or matte black depending on your trim, and buy a few extras since older screw spacing doesn’t always match new hardware exactly. Kitchens and bathrooms usually have a GFCI outlet with its own test-and-reset buttons, so grab a plate sized for that style rather than a standard one, or it won’t sit flush. It’s one of the few updates where forty or fifty pieces of plastic, a dollar or two apiece, add up to every room in the house looking different by dinner.
Update the cabinet hardware in your kitchen or bathroom

New knobs and pulls cost $40 to $150 for a full kitchen, depending on how many doors and drawers you’re working with. If the existing holes line up with your new hardware’s screw spacing, this is a drill-free swap that takes an evening. Measure center to center on your current pulls, the distance between the two screw holes, before you shop, since a mismatch means filling and redrilling every single one.
Brass and matte black have replaced brushed nickel as the go-to finishes, but the honest answer is that any hardware beats hardware that’s twenty years old and covered in fingerprint grime. Match the finish to your faucet and cabinet hinges if you’re keeping those, since three different metals fighting each other in one kitchen reads as an unfinished project rather than a deliberate mix. Buy one extra piece in case a screw strips on install, since it happens more often than you’d think on older, softer wood.
Re-caulk the tub or shower

Gray, cracked caulk around a tub reads as neglect faster than almost anything else in a bathroom, and the fix costs about $21 in supplies. Scrape out the old bead with a razor blade, wipe the seam down with rubbing alcohol, and lay a fresh line of 100% silicone caulk with a caulk gun. Skip the cheaper latex caulk in a wet area like a shower, since it doesn’t flex or resist mildew nearly as well as silicone.
Tape off both sides of the seam with painter’s tape before you start so your line comes out straight, and pull the tape immediately after smoothing the bead with a wet finger, before it skins over. Run a fan or crack a window while it cures, and give it a full 24 hours before you shower again. A clean, white caulk line does more to make a bathroom look cared for than a new fixture ever will, and it’s the cheapest single fix on this whole list.
Add a peel-and-stick tile backsplash
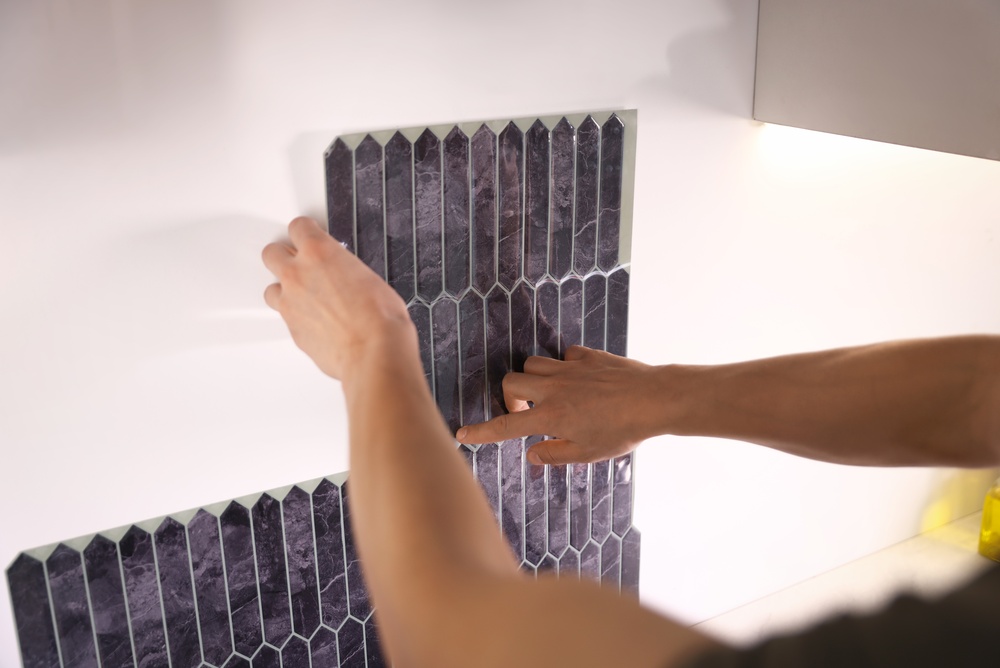
Peel-and-stick tile runs $4 to $30 a square foot, and for most kitchen backsplashes that means a project under $150 in materials. It sticks straight to a clean, flat wall, no mortar, no grout, and no tile saw required, just a utility knife and a straightedge for the cuts around outlets and cabinets.
The trick is prep, not installation. Wash the wall with a degreaser first, since kitchen walls collect a film of cooking grease you can’t see but the adhesive absolutely notices. Skip that step and tiles start peeling at the corners within a few months. Cut a cardboard template for tricky spots around outlets before you commit tile to the wall, since peel-and-stick sheets don’t forgive a bad first cut the way loose tile does. Work from the center of the wall outward rather than starting at one edge, so any small cuts you need land in the corners where they’re least noticeable. Done right, a rental-friendly backsplash can look convincingly like real tile from across the room, and it peels off clean if you move out.
Paint the front door

A professional paint job on a front door runs $100 to $220, and doing it yourself cuts that down to the cost of a quart of exterior enamel and a Saturday afternoon. Sand the existing finish lightly, wipe off the dust, and paint two thin coats rather than one thick one that’ll show brush marks and take twice as long to dry without running.
Color matters more than most people assume. Recent buyer research found the right door color against the right house exterior can add thousands to what buyers offer, while the wrong pairing, like a dark grey door on a light brick house, can knock thousands off instead. Match your door color to your siding and brick before you fall for a trend you saw online. Pick a dry, mild day for the job, since paint applied in direct sun or heavy humidity dries unevenly and shows every stroke once it cures.
Install a WaterSense showerhead
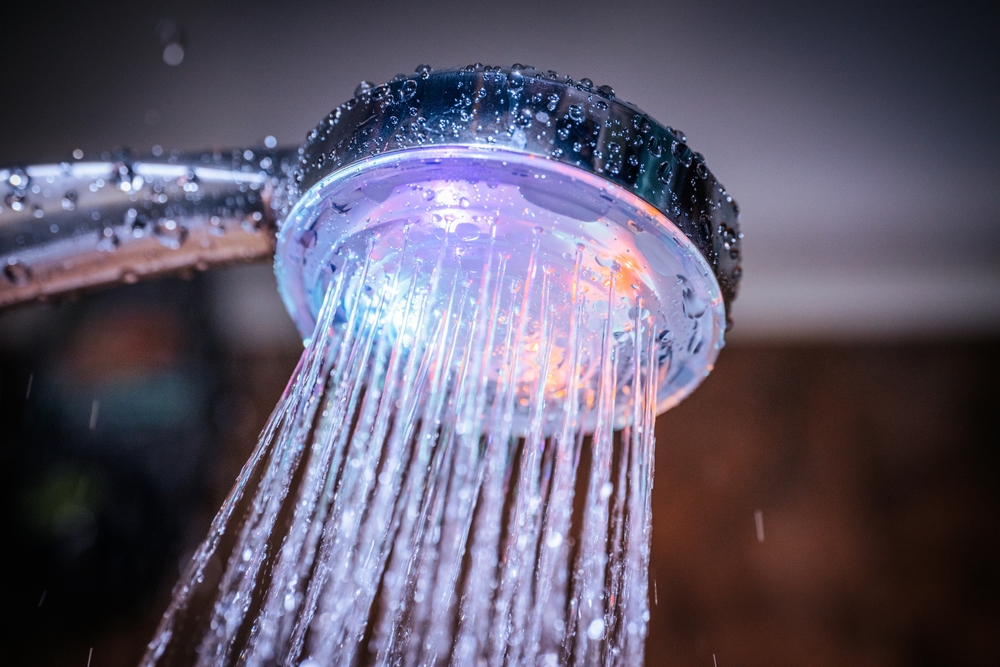
A WaterSense-certified showerhead costs $20 to $40 and installs by hand in about ten minutes, no plumber and no tools beyond maybe a wrench for a stuck old fitting. A WaterSense-certified showerhead can save the average family 2,700 gallons of water a year, which works out to real money on a water bill over time, not just a lower environmental footprint.
Older showerheads clog with mineral buildup and lose pressure long before they actually break, so a lot of homes are showering through a fixture that’s both dated-looking and worse at its actual job than a $25 replacement. Check the box for a WaterSense label before you buy, since not every “high efficiency” showerhead on the shelf actually qualifies. If low water pressure is a concern, look for a model with adjustable spray settings rather than a single fixed pattern, since those tend to feel stronger even at a lower flow rate.
Swap the toilet seat and flush handle

A toilet seat wears out faster than the toilet itself, and a stained or wobbly one is one of the cheapest tells of an unmaintained bathroom. A new seat runs $15 to $40, and a matching flush handle adds another $10 to $15. Both install with a screwdriver in about fifteen minutes combined, no water shutoff required for the seat and only a quick one for the handle.
Buy slow-close if your current one slams, since it’s a small upgrade that costs a few dollars more and stops the late-night bang that wakes up everyone else in the house. Check whether your bowl is round or elongated before you order, since the two shapes aren’t interchangeable and a mismatched seat will rock or gap at the hinge. Match the finish of your new handle to your faucet, not your toilet, since that’s the metal people actually notice standing at the sink.
Install a smart thermostat
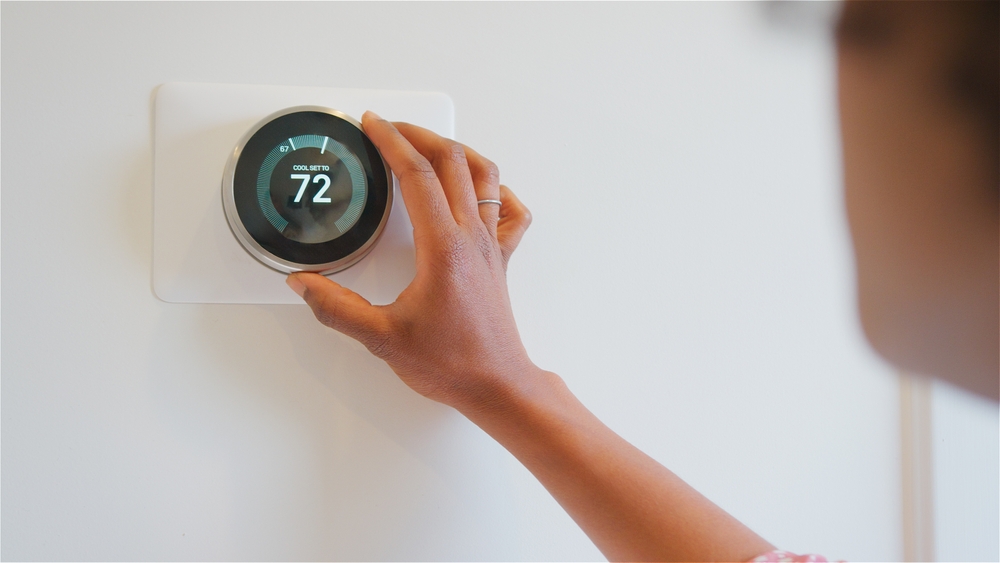
A smart thermostat costs $100 to $250 installed and saves the average household about 8% off heating and cooling bills, or roughly $50 a year. Most models install in under an hour if your system already has a C-wire, and the box will tell you if it doesn’t; a small adapter kit handles most older systems that are missing one.
Beyond the savings, a smart thermostat is one of the few upgrades that changes how a house looks and functions at the same time. A round dial thermostat from decades back on the wall tells a visitor exactly how old the systems in that house are, and a sleek touchscreen next to it says the opposite, all for the price of one dinner out for four. Turn off the power at the breaker before you disconnect the old wiring, and take a photo of the wire labels first so you’re not guessing during reinstall.
Power wash the siding, walkway, and driveway
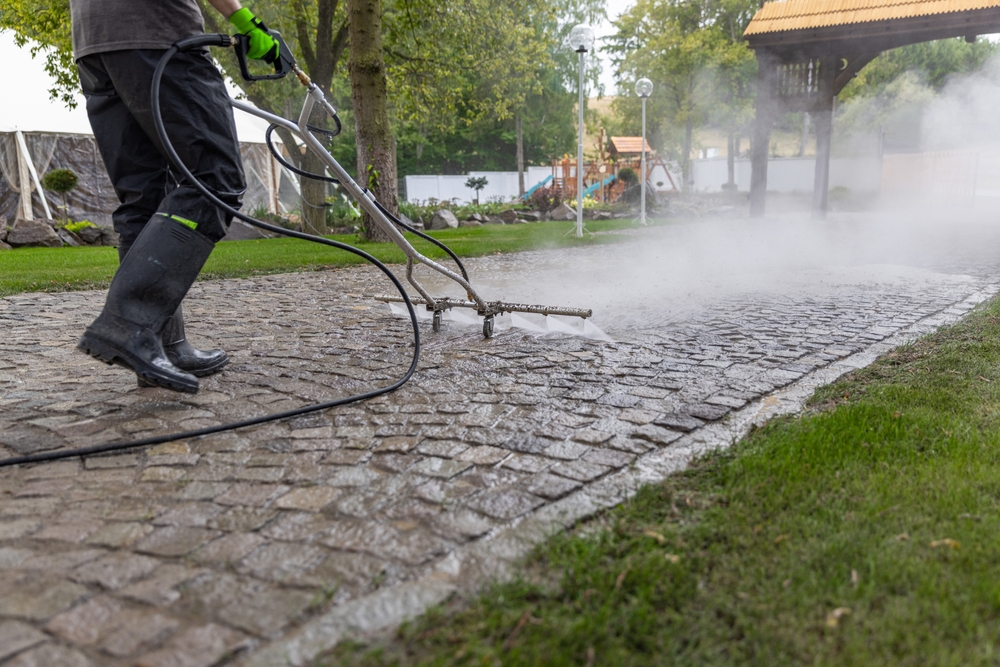
Professional pressure washing for a full exterior runs $100 to $715, averaging around $311, depending on the size of your house and how much surface area you’re covering. Renting a pressure washer yourself runs $45 to $100 a day, which covers most homes in a single weekend if you budget the time right.
Years of pollen, mildew, and general grime build up on siding and concrete so gradually that most homeowners stop noticing it, right up until they see a before-and-after photo. Use a lower-pressure, wider fan tip on siding and wood, since a narrow, high-pressure jet can strip paint or gouge softer materials in seconds. Save the highest pressure for concrete only. A pressure-washed driveway and a clean strip of siding around the front door change a home’s curb appeal more than almost any other single afternoon of work, and it costs less than one new light fixture.
Paint an accent wall

A gallon of interior paint runs $20 to $30 a gallon on average, and one gallon covers a standard accent wall with room to spare for a second coat. It’s the single cheapest way to change the personality of a room without touching furniture, flooring, or trim.
Pick the wall the eye lands on first when you walk in, usually the one behind a bed or a sofa, not a random side wall. A deep, saturated color on one wall reads as an intentional design choice, while the same color on all four walls of a small room can make it look closed in rather than cozy. If you’re going dark, use a tinted primer first, or you’ll be fighting the old color through two or three coats. Tape carefully along the ceiling and baseboard line, since crooked cut lines are the one thing that gives away a DIY paint job.
Replace an old ceiling fan
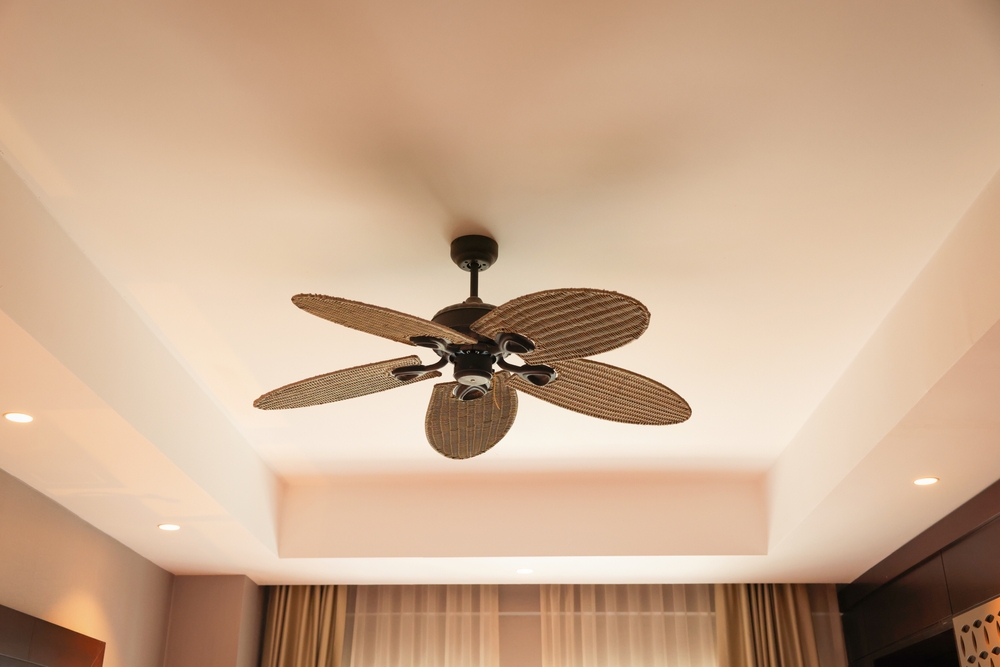
Professional ceiling fan installation runs $146 to $360, averaging around $253, though a basic swap using existing wiring can run as little as $85 if you’re comfortable with electrical work and shut off the breaker first. A wobbly fan with dusty blades and a pull chain that’s stopped working cleanly is one of the more obvious dated fixtures in an older home.
Modern fans run quieter and pair with remote or smartphone controls that didn’t exist when most old-house fans were installed. Bring the box with you or measure your room first: an oversized fan in a small bedroom looks as wrong as an undersized one lost in the middle of a big living room ceiling. Check the downrod length against your ceiling height too, since a fan hung too high barely moves air and one hung too low is a hazard for anyone tall in the house. Flip the reverse switch each winter to pull warm air back down instead of pushing a draft.
Swap out the window blinds
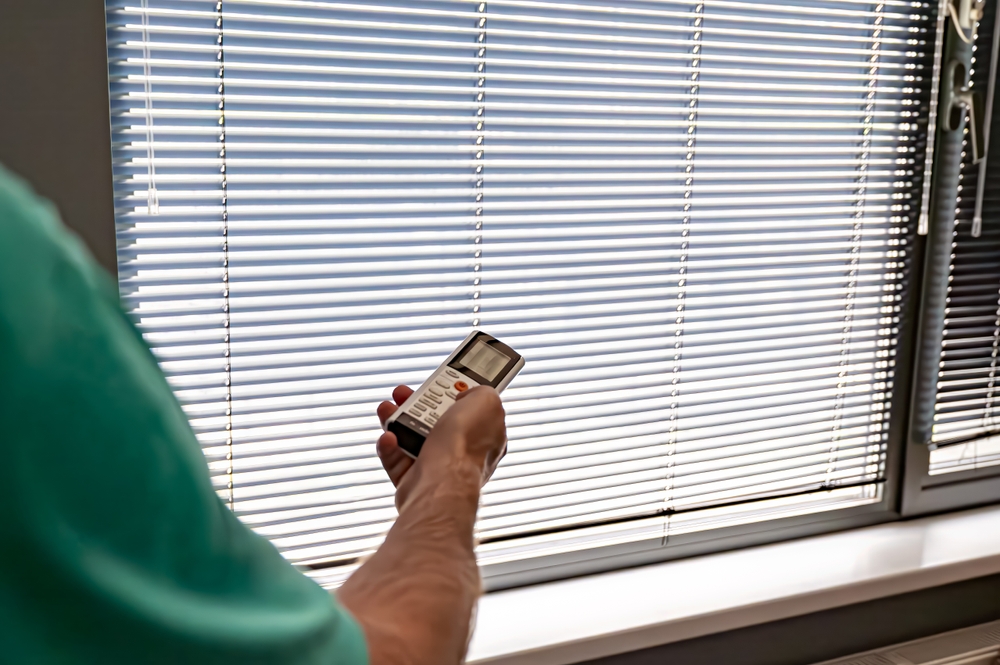
New blinds run $55 to $170 a window installed, including materials, and the install itself is a matter of mounting a bracket and clicking the headrail into place, no tools beyond a drill and a level.
Warped mini blinds with broken slats and yellowed cords are one of the more visible signs of a house that hasn’t been touched in a while, since they sit right in every window facing the street. Cordless faux-wood blinds are the current standard, both for the cleaner look and because cords are a real safety hazard in homes with small kids or pets. Decide between an inside mount, which sits recessed in the window frame for a built-in look, and an outside mount, which covers the whole frame and works better on windows that are slightly out of square. Measure inside the window frame twice before you order, since blinds cut even a quarter-inch too wide won’t fit.
Update the exterior door hardware and deadbolt
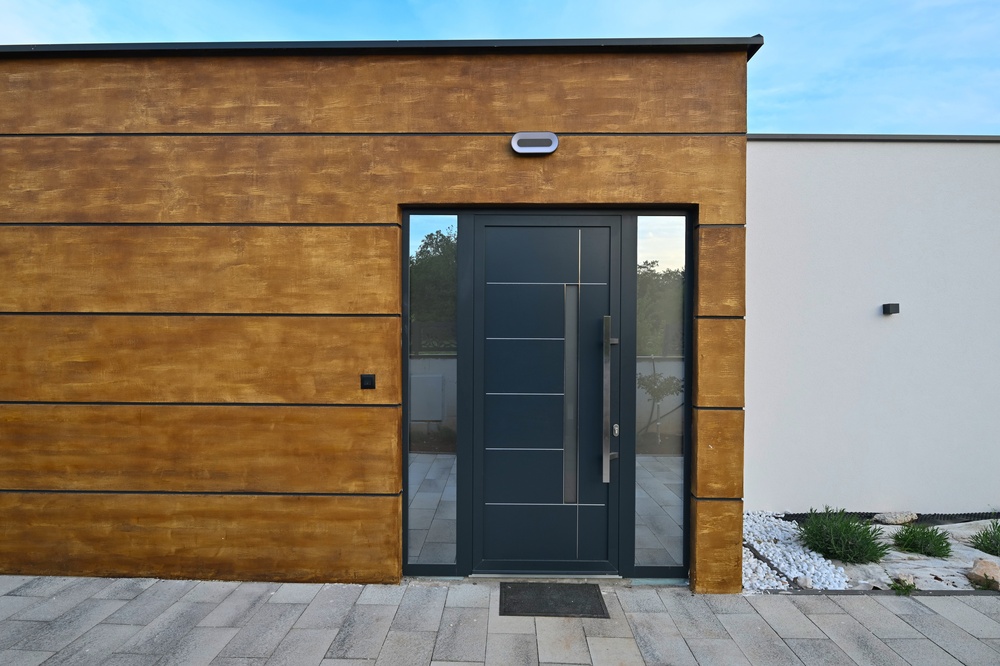
A new deadbolt and matching handle set costs $20 to $80 in materials for a DIY install, and swapping a lock on a standard pre-drilled door takes about fifteen minutes with a screwdriver and a drill.
A scratched, tarnished deadbolt at eye level on the front door is something every single visitor touches and notices, whether they register it consciously or not. Matching your new lock finish to your house numbers and light fixtures pulls the whole entryway together, and it’s a security upgrade as much as a cosmetic one, since older single-cylinder deadbolts are easier to bump or pick than current standard-security models. Look for a lock rated Grade 2 or better for the front door specifically, since that rating reflects how many strikes it can take before failing, and consider a rekeyable model so you can change the pins yourself later without calling a locksmith. While the door is open, check the strike plate on the frame too. A short, loose strike plate held by half-inch screws is the actual weak point on most old front doors, not the lock itself, and swapping in three-inch screws that reach the framing behind the trim costs nothing but five minutes.
Add a new porch light
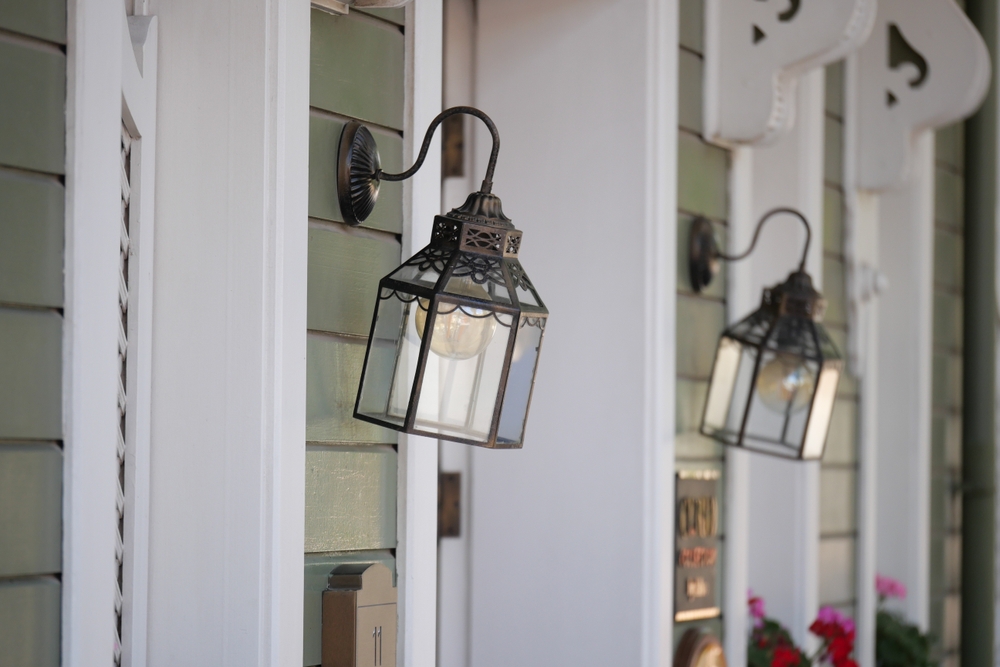
Installing a new exterior porch light runs $75 to $250 professionally, averaging around $150, and it’s an easy DIY swap if you’re replacing an existing fixture on the same wiring, with the breaker off the whole time you’re working.
An outdated porch light, especially one with a yellowed glass globe and a bulb that’s been the wrong color temperature for years, is visible from the street every single night. A new fixture in black or bronze with a warm LED bulb changes the entire look of a front entry after dark, which matters more than daytime curb appeal for anyone coming home from work in the winter. Consider a dusk-to-dawn sensor bulb if you never remember to flip the switch, since it turns itself on automatically as the sun goes down and off again at sunrise. Check that your new fixture is rated for outdoor wet or damp locations before you buy, since an indoor fixture hung outside will cloud, rust, or short out within a season no matter how good it looked in the store.
Patch nail holes and repaint the trim white
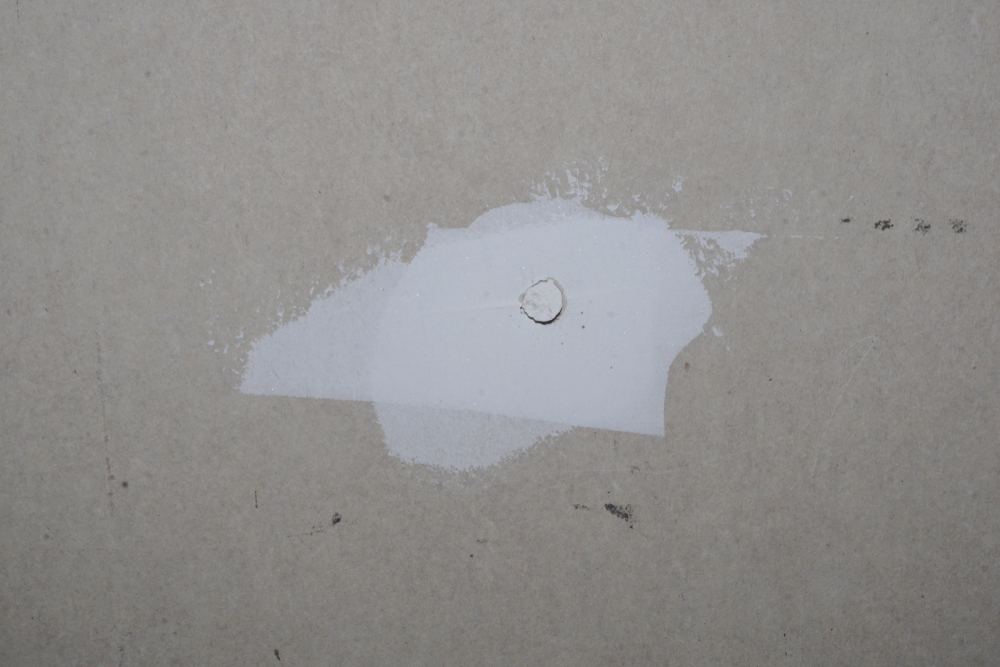
A tube of spackle costs about $5 and covers dozens of nail holes and small dings left behind by old picture frames, curtain rods, and shelving that’s since come down. Let it dry, sand it smooth, and hit it with a dab of matching paint, or a full coat of trim paint if the whole wall needs freshening.
Old houses accumulate decades of these small holes from tenants and owners who came before, and they’re the kind of flaw that’s easy to stop seeing once you live with them daily. A walk-through with a flashlight held at an angle against each wall will show you every hole and scuff you’ve stopped noticing, since raking light catches texture that flat daylight hides. On plaster walls, which many older homes have instead of drywall, use a setting-type compound rather than standard spackle, since plaster cracks wider and standard filler shrinks too much to hold. An hour with a putty knife and a paintbrush closes out a punch list that would otherwise sit there for years.